
Best AI Video Generator for Image to Video
Turn a still photo into a moving clip: what to look for in an image-to-video generator — first and last frames, motion control, length, audio and price — and how AI Trend Studio handles it.
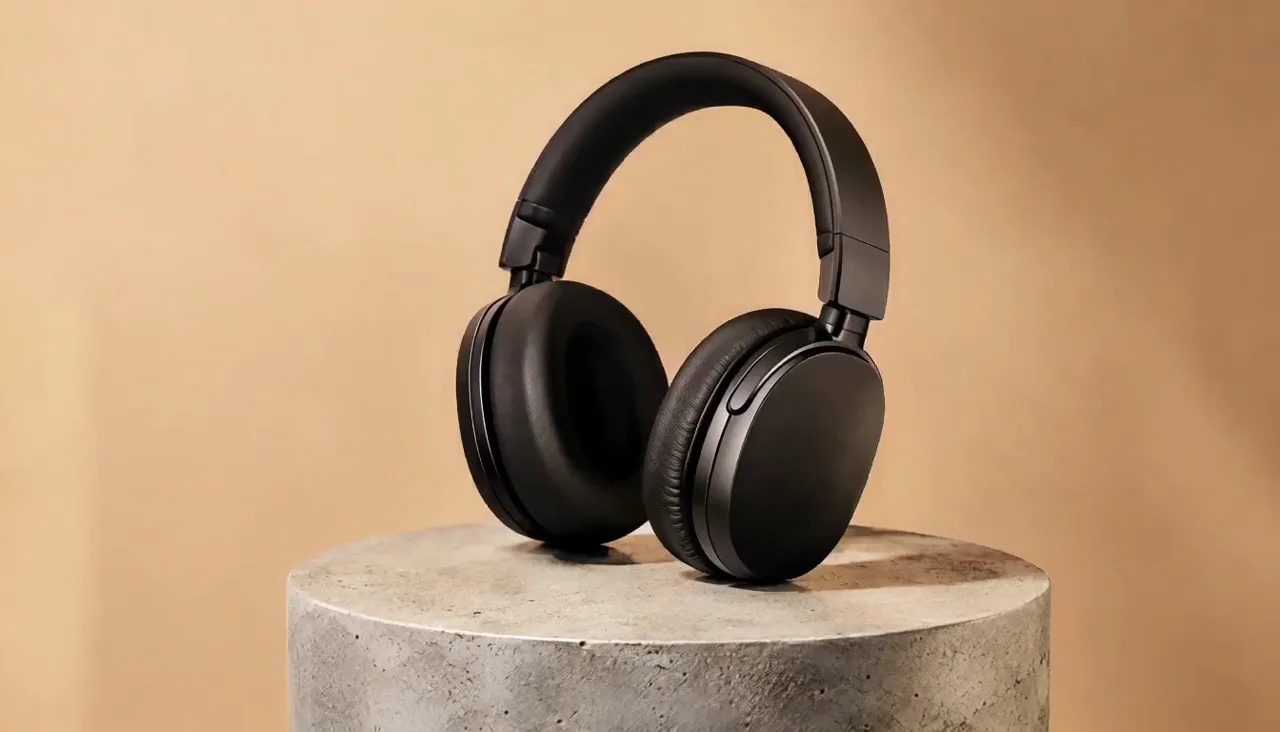
Image to video is the most direct way to make an AI clip: start with a photo you already have and animate it. A wedding photo turns its subjects toward each other. A product photo starts rotating. A portrait blinks and looks at the camera. No filming, no timeline — the photo is the opening frame and the model supplies the motion.
But not every image-to-video tool handles a photo the same way. This post covers what to look for, how it works on AI Trend Studio, and how to get a good first result.
What to look for in an image-to-video generator
1. First frame fidelity
The result should keep your subject recognisable. The photo goes in as the opening frame, so the subject, composition and lighting of the first frame carry into the clip. Tools that treat the photo as a loose reference instead of a frame tend to drift — the face changes, the product reshapes itself. Ask for the photo as the opening frame, not as inspiration.
2. A closing frame
Some models take a second photo as the closing frame: start here, end there, and the model fills in the motion between them. That is the difference between a clip that wanders and a clip that lands where you planned. On AI Trend Studio, MiniMax H3, H3 Max, Seedance 2.5, 2.0, 2.0 Fast, 2.0 Mini and Kling V4 take two photos; Kling V4 Flash, Gemini Omni 1.2 Flash and Muse take one.
3. Motion you can direct
The motion comes from your description: what moves, how fast, and where the camera goes. The best results come from one clear action — "slowly turns toward the camera", "steam curls up", "waves crash below" — rather than three actions at once. If the motion is wrong, you should be able to reply with a correction ("slower turn") instead of starting over. That is what the chat workflow on AI Trend Studio is for.
4. Length, resolution and audio
Clips here run 3 to 30 seconds depending on the model: up to 15 seconds on most models, 20 on Kling V4 Flash, 30 on Kling V4 and Seedance 2.5, and 10 seconds on Muse. Resolutions run from 480p to 2K, with Gemini Omni 1.2 Flash reaching 4K. Seedance models generate audio alongside the picture; the others are silent. Pick the length and resolution for the clip you need — a 5-second social post and a 30-second product shot are different jobs.
5. Price before you send
A video costs from 3 credits, and the exact price shows in the composer before you send, based on model, length and resolution. Failed or stopped renders are refunded. Plans start at $19.90 a month for 200 credits. Before a first plan or credit pack, clips render at each model's lowest resolution and up to 5 seconds (Muse: 10 seconds); buying either unlocks every resolution and length and adds a commercial license.
How it works on AI Trend Studio
- Upload a photo. It becomes the opening frame. Optionally add a second photo as the closing frame on models that take two.
- Describe the motion. One action, one camera move, one mood. The agent turns your words into a detailed prompt — or use a ready-made prompt from the showcases as a starting point.
- Pick a model and length, or keep the defaults. The price shows before you send.
- Watch the clip in chat. Download it, or reply with a change and render another take.
The showcases show real examples with the exact prompt behind each: a wedding photo brought to life, a headphones product spin, a grandmother in a garden, hot-air balloons over a valley. Each page links back into the studio with its prompt filled in, so you can try the same setup on your own photo.
Here is the product example — a pair of headphones on a pedestal, original photo first, generated result second. Press play on the clip to watch it right here; the original photo links to its showcase page.
The same photo, animated — slow product orbit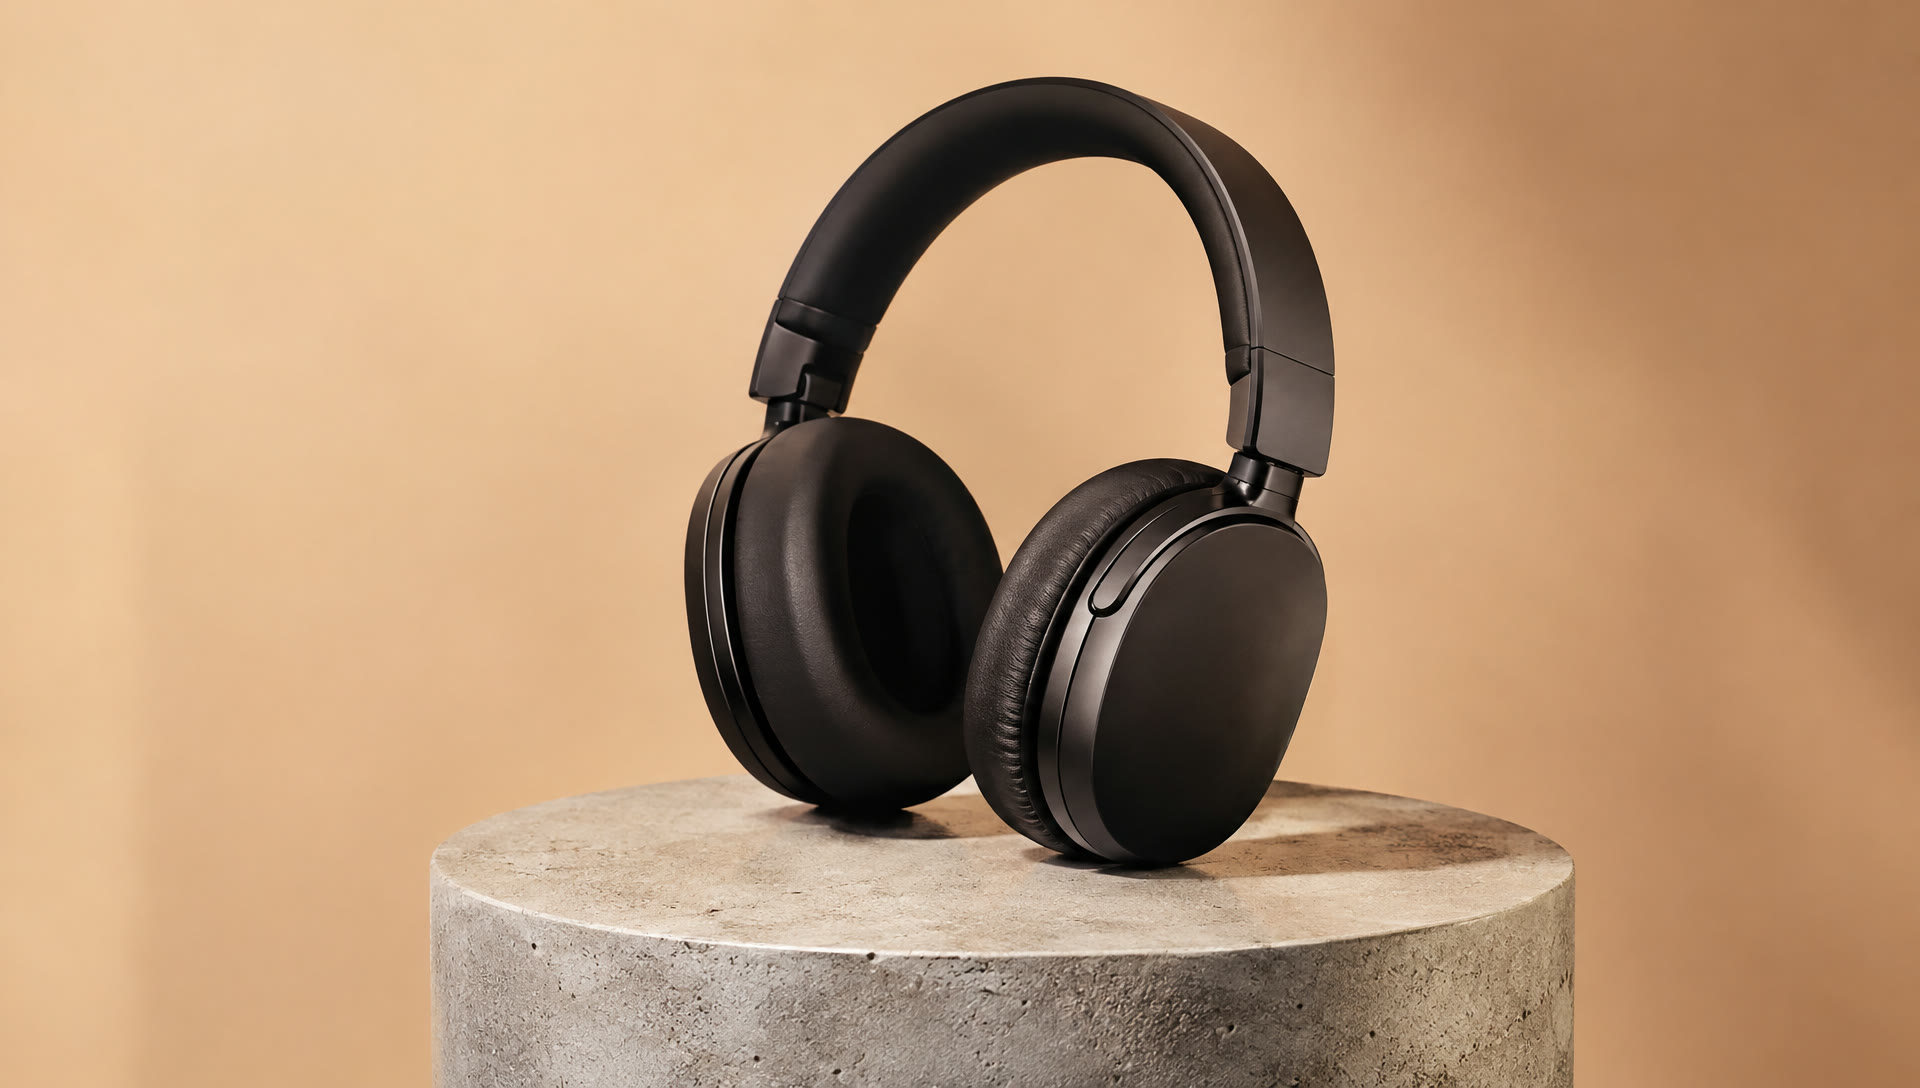
Tips for a good first result
- Use a sharp, front-facing photo. The model has more to work with when the subject is clear and well lit.
- One action per clip. "She turns and smiles" works better than "she turns, waves, walks forward and the camera orbits".
- Keep the camera move simple. A slow push-in or a gentle pan is more reliable than a fast orbit.
- Match the model to the job. Long single shot with sound: Seedance 2.5. Long clip at 1080p on a budget: Kling V4. Everyday clips: MiniMax H3. Cheapest test: Seedance 2.0 Mini or Gemini Omni 1.2 Flash at 5 credits per 5 seconds.
- Expect a second take. Results vary from one render to the next, and hands, fast motion and on-screen text are where current video models slip most often. A simpler action and a retry usually fix it.
What "best" means here
There is no single best image-to-video generator — there is a best fit for the clip you need. The right check is whether the tool keeps your photo recognisable, lets you set the ending frame, directs motion in plain words, shows the price before you render, and lets you refine the result without starting over. That is the bar this post is written against, and it is the bar AI Trend Studio is built to meet.
Related posts
Seedance vs Kling vs MiniMax: Which AI Video Model Should You Pick?
Same prompt, three model families: how Seedance 2.5, Kling V4 and MiniMax H3 compare on length, resolution, audio, first and last frames and price — and which one fits your clip.
How to Edit AI Videos by Chatting
Describe the shot, pick a model, and refine the result in chat — no timeline, no prompt engineering. How chat-based AI video editing works on AI Trend Studio.